Install and configure vCenter Orchestrator on Windows
vCenter server Ochestrator can be deployed and install in few different ways:
- vCenter server Ochestrator virtual appliance
- vCenter server Ochestrator on vCloud Automation Server 6.X
- vCenter server Ochestrator installed along with vCenter server on Windows server
- vCenter server Ochestrator Standalone on Windows server
I will describe installation and configuration of vCenter server Ochestrator standalone on Windows server.
There might be several reasons why would you like to have vCenter server Ochestrator installed on Windows server as standalone instance such as, you are Windows only shop,
vCenter Server Orchestrator on Windows – Installation
- Mount vCenter server ISO
- Browse to vCenter folder and under vCO folder run vCO installer.
- Start installer and follow its wizard to complete installation.
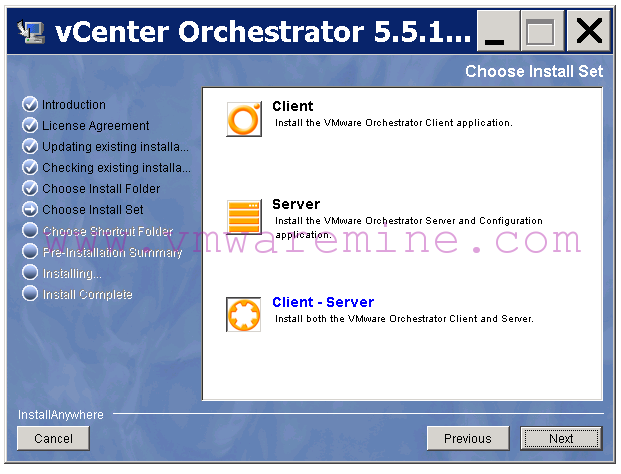
vCO on Windows installer
vCenter Server Orchestrator on Windows – Configure
From Windows management console start vCenter server orchestrator configuration service. If you are logged in to the Orchestrator server machine as the user who installed Orchestrator, select Start > Programs > VMware > vCenter Orchestrator Configuration or go to https://localhost:8281/vco/ and from there click on configure vCO and you will get redirected to https://localhost:8283/ . Log in to configurator with default login vmware and password vmware and change password to custom.
vCenter Server Orchestrator on Windows – connect to external database
vCenter Server Orchestrator supports several different databases. In below example I choose to use MSSQL server as target DB for my deployment.
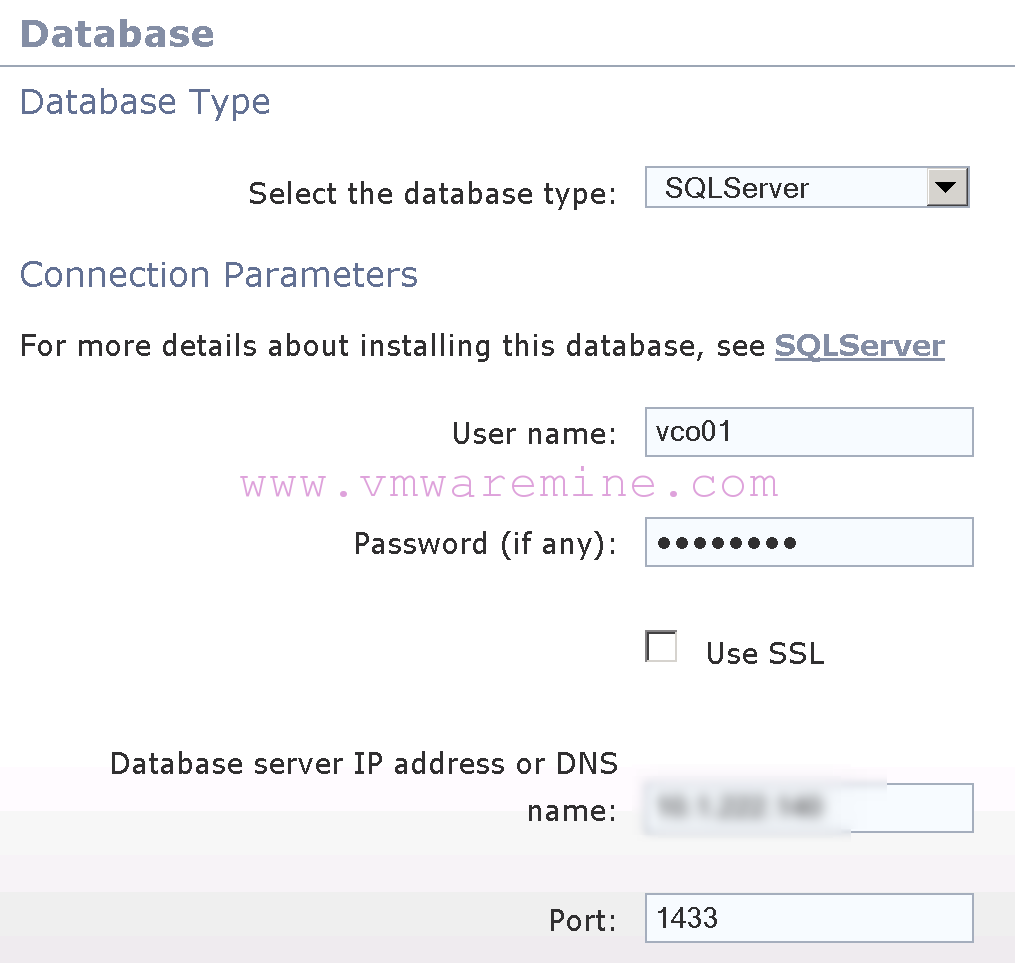
external DB configuration
When you see Connection successful don’t forget to create database tables :-).
[box type=”warning”] Database configuration saved successfully. Create the database tables by clicking the following link. [/box]
When you see above you can proceed to next step, create DB schema and tables by click on the link just below this information. After few second you should see information about successful connection to DB
vCenter Server Orchestrator on Windows – Generate self signed certificates
When you connect vCO to external DB you must create self-signed certificate or import new one. From left window choose server certificate and choose between import or create self-signed.
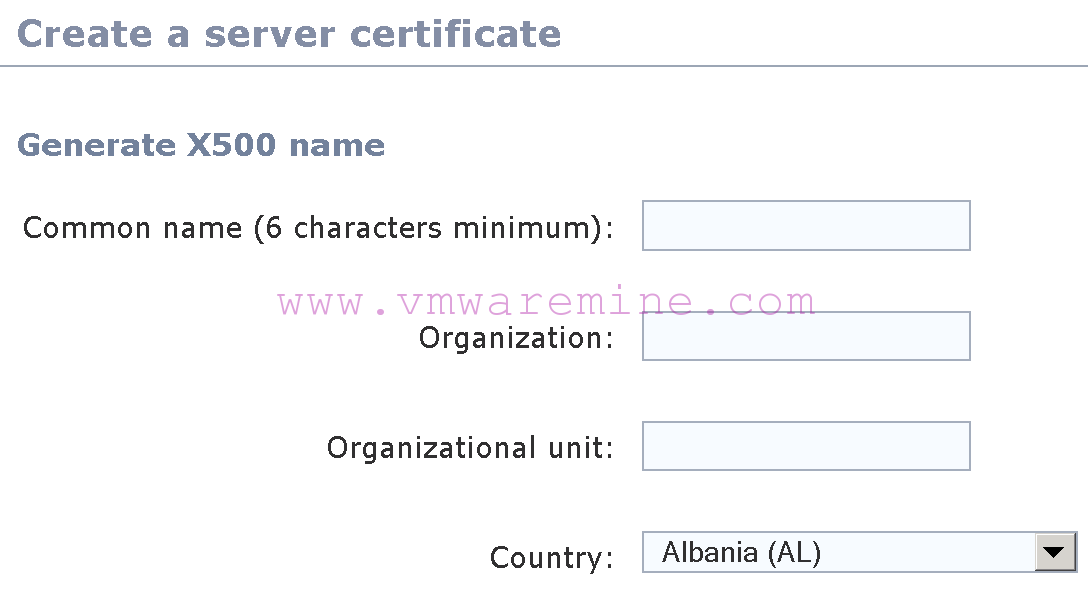
self-signed certificate for vCO
vCenter Server Orchestrator on Windows – Add license.
Do not forget to add License – it is very important. You can either connect vCO to existing vCenter server and use it its license or paste valid vCetner server license key. I prefer second option – if you don’t have to – do not relay too much on vCenter server – it is busy enough 😉
Add vCO Active Directory authentication
Form configuration tab choose Authentication tab and complete required information. From now on users will have use their AD accounts in order to log in to vCenter Orchestrator server.

vCO AD authentication
Test AD connectivity
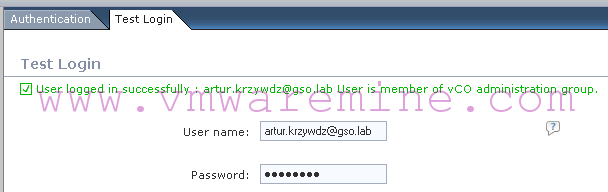
vCO test AD connectivity
The LDAP configuration is successfully saved.