Quick guide how to deploy nested XEN on VMware ESXi
You may want to run XEN s(not a XEN server) for several reasons as virtual machine which run on ESXi.
Gotchas:
Only one vCPU :-/ – otherwise you will get error as show below when boot you CentOS with XEN kernel. There is a bug in VMXNET3 driver module on Linux which has something to do with number of vCPU assigned to VM, which is different then power of 2. I tested several configurations with 2, 3,4, vCPU and non of them was working. Only VM with one vCPU works as expected.
Failed to activate dev eth0:error 1
An error message similar to the following might be written to vmware.log:
VMXNET3 user: failed to activate Ethernet1 with status 0xbad0007
Theoretically should be solved by VMwareKB 2003484 but it is not 🙂
Lab Configuration:
- Nutanix block NTNX-1050
- NOS 4.0.1
- VMware vSphere ESi 5.5 U1
Hypervisor settings
- enable promiscuous mode on vSwitch which you plan to use for nested XEN
Virtual Machine configuration
- virtual hardware 8
- 6GB vRAM
- 1 vCPU
- 16 GB hard disk
- CentOS 6 64 bit baseline
Nested XEN on VMware ESXi – Installation
More about installation you can read from below link
- http://wiki.centos.org/HowTos/Xen/Xen4QuickStart
- http://wiki.centos.org/HowTos/Xen/Xen4QuickStart/Xen4Libvirt
Post-installation
Check if SELinux is disabled /etc/sysconfig/selinux
# This file controls the state of SELinux on the system.
# SELINUX= can take one of these three values:
#     enforcing - SELinux security policy is enforced.
#     permissive - SELinux prints warnings instead of enforcing.
#     disabled - No SELinux policy is loaded.
SELINUX=disabled
# SELINUXTYPE= can take one of these two values:
#     targeted - Targeted processes are protected,
#     mls - Multi Level Security protection.
SELINUXTYPE=targeted
check if XEN server is up and running, type xm info
[root@xen01 ~]# xm info
host                   : xen01.gso.lab
release                : 3.10.43-11.el6.centos.alt.x86_64
version                : #1 SMP Mon Jun 16 14:22:02 UTC 2014
machine                : x86_64
nr_cpus                : 1
nr_nodes               : 1
cores_per_socket       : 1
threads_per_core       : 1
cpu_mhz                : 1999
hw_caps                : 0fabfbff:28100800:00000000:00003f40:96982203:00000000:00000001:00000000
virt_caps              :
total_memory           : 6143
free_memory            : 5048
free_cpus              : 0
xen_major              : 4
xen_minor              : 2
xen_extra              : .4-33.el6
xen_caps               : xen-3.0-x86_64 xen-3.0-x86_32p
xen_scheduler          : credit
xen_pagesize           : 4096
platform_params        : virt_start=0xffff800000000000
xen_changeset          : unavailable
xen_commandline        : dom0_mem=1024M,max:1024M loglvl=all guest_loglvl=all
cc_compiler            : gcc (GCC) 4.4.7 20120313 (Red Hat 4.4.7-4)
cc_compile_by          : mockbuild
cc_compile_domain      : centos.org
cc_compile_date        : Mon Jun 16 17:22:14 UTC 2014
xend_config_format     : 4
[root@xen01 ~]#
If you plan to use bridged network model – Disable network manager because it does not support bridged networks anyway
# chkconfig NetworkManager off
# chkconfig network on
# service NetworkManager stop
# service network start
Install libvirt packages
yum install libvirt python-virtinst libvirt-daemon-xen
Reboot host
Nested XEN on VMware ESXi – Configuration
Networking
All ifcfg files are case sensitive. In particular Bridge must be written exactly as shown.
Example 1: A physical network device on a bridge: /etc/sysconfig/network-scripts/ifcfg-eth0
DEVICE=eth0
HWADDR=00:16:76:D6:C9:45
ONBOOT=yes
BRIDGE=xenbr0
NM_CONTROLLED=no
Example 3: A single bridged network configured with a static local IP address: /etc/sysconfig/network-scripts/ifcfg-xenbr0
DEVICE=xenbr0
TYPE=Bridge
BOOTPROTO=static
BROADCAST=192.168.1.255
IPADDR=192.168.1.2
NETMASK=255.255.255.0
ONBOOT=yes
DELAY=0
NM_CONTROLLED=no
If you need to keep IP address on bridge from eth0 just copy it over to bridge configuration file
Restart networking:
- services network restart
Check bridge configuration:
[root@xen01 ~]# brctl show
bridge name     bridge id               STP enabled     interfaces
virbr0          8000.000000000000       yes
xenbr0          8000.00505680dce6       no              eth0
[root@xen01 ~]#
Our bridge xenbr0 is visible and it is bridged to eth0 physical interface
Disable netfilter for bridges. However you can alternatively you can configure iptables to allow all traffic to be forwarded across the bridge as follows:
echo "-I FORWARD -m physdev --physdev-is-bridged -j ACCEPT" > /etc/sysconfig/iptables-forward-bridged
lokkit --custom-rules=ipv4:filter:/etc/sysconfig/iptables-forward-bridged
service libvirtd reload
More about networking configuration on XEN you can read on below
- http://wiki.xen.org/wiki/Network_Configuration_Examples_(Xen_4.1%2B)
- http://wiki.xenproject.org/wiki/Xen_Networking
Nested XEN on VMware ESXi – Spin the first VM up
Another method for a remote install is to connect to the Dom0 machine via ssh and become the root user, and then use virt-install and the console to do an install. This command (as root, from the command line) will allow a text install remotely:
virt-install -d -n TestVM1 -r 2048 --vcpus=1 --disk /var/lib/libvirt/images/TestVM1.img,size=8 --nographics -p -l "http://mirror.centos.org/centos/6/os/x86_64" --extra-args="text console=com1 utf8 console=hvc0"
In the above example, the meanings are:
- -d – Debug mode, lots of text and full config files printed for debuging
- -n TestVM1 – The name of the VM
- -r 2048 – Ram size (2048 MB or 2 GB)
- –vcpus=1 – Number of Virtual CPUS
- –disk=/var/lib/libvirt/images/TestVM1.img,size=8 – disk image location and size in GB
- –nographics – since we do not have GUI installed on our Dom0, do not use VNC, etc.
- -p – use para-virtualization
- -l “http://mirror.centos.org/centos/6/os/x86_64” – Location of a centos tree
- –extra-args=”text console=com1 utf8 console=hvc0″ – this tells linux to use com1 and xen to use hvc0 so that you can do a text install via the console
Note: This type of install is only console based, so only a text install can be done this way.
Switch over to graphical mode
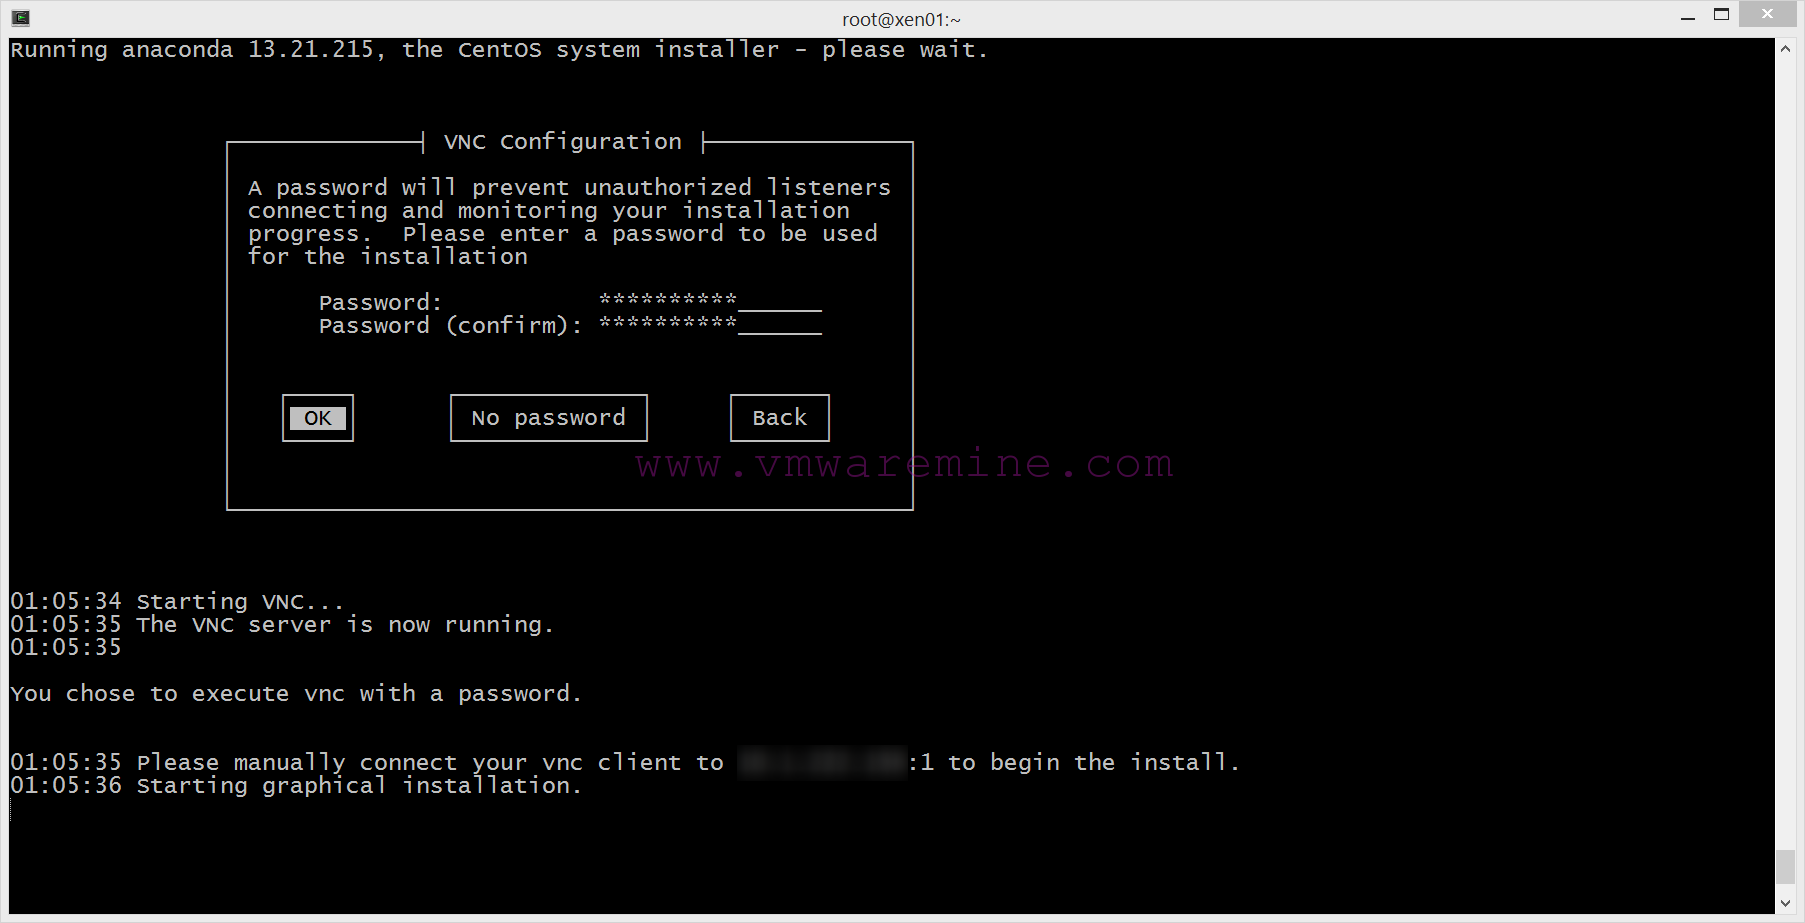
CentOS 6.5 text mode
Graphical mode
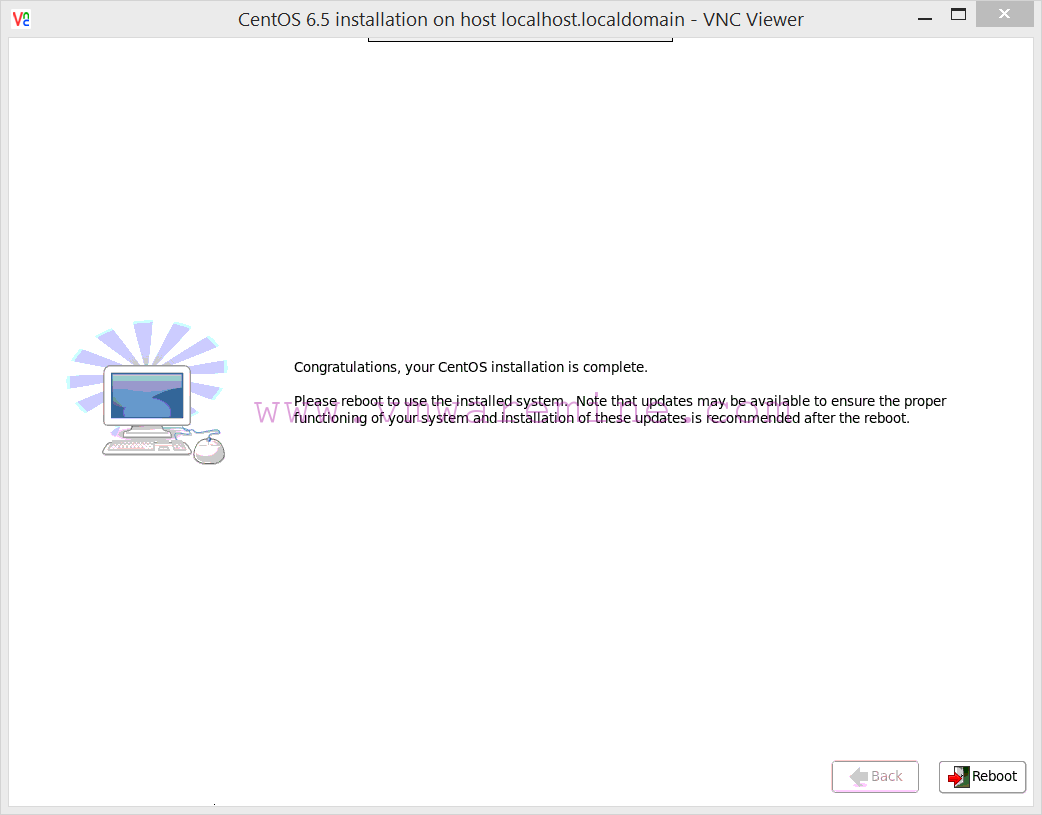
CentOS 6.5 on XEN installation over VNC
After installation you you can connect to VM over SSH. You can also verify if VM has been registered and visible by XEN hypervisor.
[root@xen01 ~]# xl list
Name                                        ID   Mem VCPUs      State   Time(s)
Domain-0                                     0  1023     1     r-----     567.7
TestVM1                                      2  2048     1     -b----      19.8