How to deploy nested KVM on VMware vSphere or Workstation.
You may have several different reasons to deploy nested environment but one of the most common is – for test new technology, test migration process from or out of the platform or simply lack of hardware resources (homelab deployments). My setup is CentOS 7 with KVM run on VMware vSphere 5.5 (one instance) on Nutanix and VMware workstation 10 on Windows workstation (second instance). What to do to Deploy nested KVM on VMware vSphere or Workstation ? Steps are fairly similar for both installations, the only difference is on VMware vSphere 5.5 deployment you should change network adapter from E1000E to vmxnet3 and on Workstation storage controller from default to LSI Logic SAS.
- Download ISO from CentOS repo
- Create VM
- as base line use CentOS 5/6/7 – in VMware vSphere
- on VMware workstation use CentOS 64 bits
- Assign two network adapters
- in VMware vSphere change from E1000E to vmxnet3
- Assign minimum 4GB RAM and 1 vCPU – depend on needs and available resources
- Select “LSI Logic SAS” SCSI controller – on VMware workstation
- Make sure that:
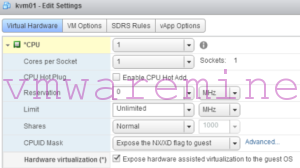
- Expose virtualiation hardware to guest OS is marked – vSphere VM – you can find it next to the CPU settings
- Virtualize Intel VT-x/EPT or AMD-V/RVI – for VMware workstation
- edit vmx file and add line: apic.xapic.enabled=FALSE
- Boot up VM from ISO
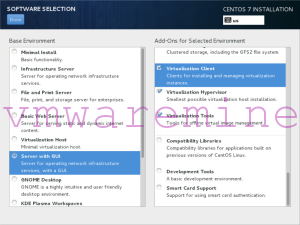
- Follow then installation process and make on software selection window, server with GUI (or just server) and three form the right panel are selected
- Configure IP on first vNIC, second will be taken as bridge by KVM
- Continue installation and reboot at the end
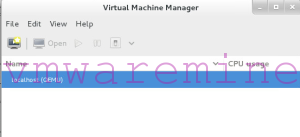
- After reboot log in to console and check if you can connect to KVM using virt-manager
Virt manager is GUI for managing virtual machines, networking on KVM and XEN servers.


