How to create category in Nutanix Flow
To get a better understanding of how Nutanix Flow policies work, have a look at my blog “Security Policies in Nutanix Flow”. How to enable Nutanix Flow network microsegmentation – check out blog post Enable Nutanix Flow
If you prefer to read documentation instead of watching the above video, feel free to continue reading.
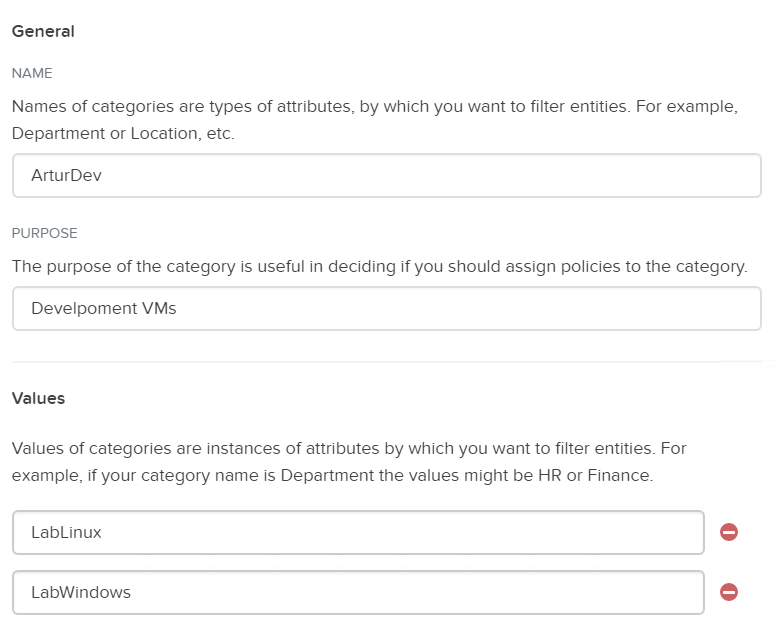
First, you have to create categories. Categories are used to gather VMs into logical groups.
- Log in to Prism Central –> Explore –> Categories –> New Category
New category
- Create at least two categories so both can be used later in the exercise.

Categories overview
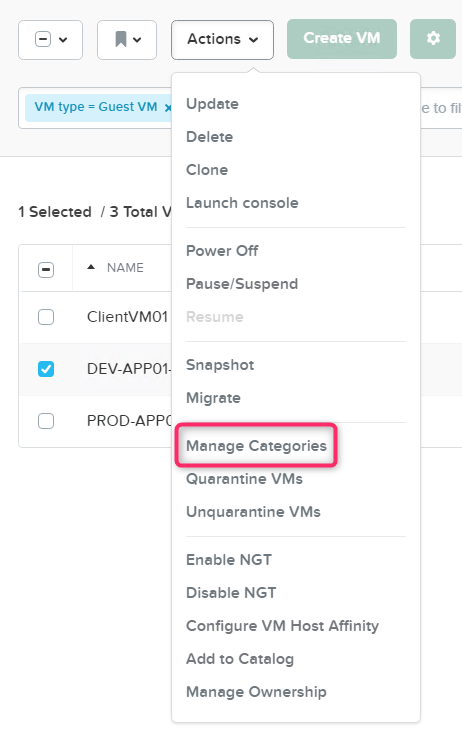
Assign a category to VM in Prism Central
- Login to Prism Central and choose VM you want to assign a category
- From top menu choose Action button –> Manage categories
Manage categories
- In a new window, start typing a category name and system will automatically list all categories with the string you provided. Click PLUS button and save changes
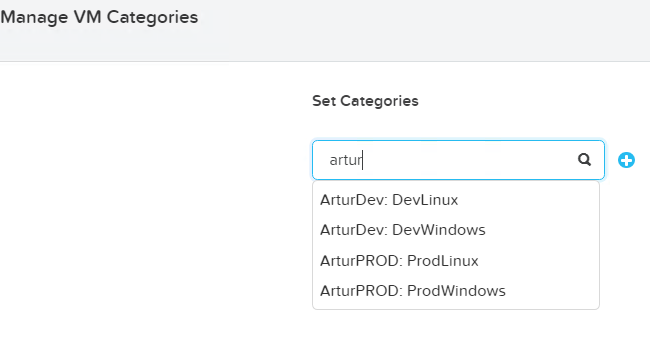
Set category in VM properties
- Switch view to Categories list and you should see VM count next to the category

Categories
Now VMs are ready to be assigned to Nutanix Flow policy


