How to create security policy in Nutanix Flow
To get a better understanding of how Nutanix Flow policies work, have a look at my blog “Security Policies in Nutanix Flow”. How to enable Nutanix Flow network microsegmentation – check out Enable Nutanix Flow
Create Isolation security policy in Nutanix Flow
Scenario:
Isolate:
from

Below you can find the video on how to create and apply Isolation policy in Nutanix flow.
First things first, you have to create new categories or use existing. How to create new categories and assign them to VMs, check out my blog post – How to create and apply security policy in Nutanix Flow – part 1 for more details.
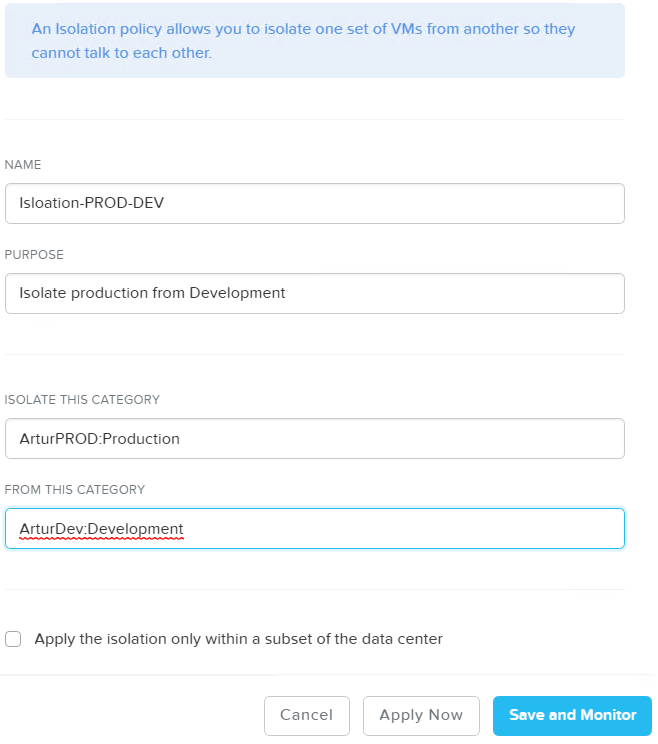
Now, we are ready to create Isolation policy in Nutanix Flow. From Prims Central go to –> Explore –> Security policies –> Create Security Policy –> Isolate Environments. On the next screen provide a meaningful name, purpose, and categories and hit Save and Monitor

Create Isolation policy in Nutanix Flow
The new policy will appear in available security policies in the system in monitoring status. Next step is to assign categories to VMs. In this scenario, I have 2 PROD VMs and 2 DEV VMs. At this stage, VMs can still connect to each other because the Isolation policy is in Monitoring mode.

Isolation policy in Monitoring mode
To apply the Nutanix Flow Isolation policy you have to switch from Monitoring mode to Applied mode. Log in to VMs and try to ping VMs from the different category. If you did exactly as I show you above, all PING packages will be dropped by security policy rules.


